Monday, 14 November 2016

TWO QUICK CARDS FOR CHRISTMAS

COOL CHRISTMAS 1
The Australian importer of a few of the US lines of seasonal scrapbooking papers decided at more or less the last minute not to do so this year so whilst there are a lot of lovely papers still available there is not quite the same range as usual.  Not to worry.....you really don't need Christmas paper to make Christmas cards.

These two examples are made of cards from Regal's new "Cool Christmas" pack and feature a couple of alternatives.

COOL CHRISTMAS 1
The first just has a piece of lovely specialty paper, (just one of lots of new patterns), some backing paper, a sticker and a rhinestone.  How easy is that? Especially with the gold detail, it looks very Christmassy without using Christmas paper as such.

The same is true of the second example - no matter what colour glitter card you use, it says "celebration."  In this case just a few die cut blue stars on a grey background.  Grey paired with a pastel is the "in" colour this year, but really the design would work with any colours that take your fancy


Friday, 11 November 2016

QUICK STAMPED CHRISTMAS CARD

QUICK CARD FOR CHRISTMAS
I made this card very quickly with the help of a pre-cut bauble shapeand a red base card from Regal Craft Cards.

I stamped some snowflakes in two corners, leaving a space for the silver and white ribbon (which I attached using double sided tape).  A stamped greeting was added to the bauble, and then it was just a matter of adding a pre-made red bow and a few rhinestones!

Its not quite a five minute card but it comes close, and is quite a good style to reproduce if you're making your cards in e.g. lots of 10 at a time!

Wednesday, 9 November 2016

GATEFOLD CHRISTMAS CARD

GATEFOLD CARD - FRONT

INSIDE
Sharon shows a clever way to use a larger picture by sticking it across the edges where the panels meet on a gatefold card and then cutting between the edges.

This works particularly well with symmetrical (or close to) shapes such as this Christmas tree, featured in one of the recent Kaiser paper ranges.

The silver adhesive trim has been similarly applied, with two little blue pearls in each of the bottom corner.  Sharon has used the bottom margin of a Kaiser paper to double as both a band to keep the card closed for presentation, and to add the greeting.

As you can see, she has added a deckle cut piece of patterned paper and a couple of silver stars for embellishment inside the card.


Friday, 4 November 2016

MERRY CHRISTMAS

MERRY CHRISTMAS WITH SANTA
Here is another quick card idea from Janet, who has used Regal's Royale card in Fern as a base. The Royale cards have a narrow gold foiled border near the fold, and are larger than the standard card.

Janet has added tiny red pearls to the border, and has used a cut-out santa picture, backed on red cardstock, and a gold Merry Christmas sticker.  She has finished the project with a cheerful red bow.

This is quite a quick card, and the design could easily be modified with other toppers.  The Royale cards are available in other colours including white linen, ivory, heather, stonewash, lemonade, cameo and cantelope!

Friday, 28 October 2016

THREE QUICK CHRISTMAS CARDS

CHRISTMAS WISHES
Marty Munro made these three quick Christmas Cards at Regal's September demo.  Using paper from Kaiser's Christmas Wishes collection and Amethyst base cards from Regal Craft Cards he has made three different cards, making the most of a single theme.  These won't take very long to make and that's a plus when there are lots of cards to have ready for posting in the not too distant future.

Wednesday, 26 October 2016

CHRISTMAS TREE CUT OUT CARD

CUT-OUT CHRISTMAS TREE CARD
I think this card looks better in "real life" than it does on the screen (especially the one I'm using at the moment which stretches it sideways).  In any case you can still use the idea and make it better still.

The Regal cut-out Christmas tree card has had paper stamped with light and dark green branches placed behind it, whilst the actual cut-out, edged with a sparkling gold pen has been offset to the side and front of the cut-out. Lightly padded fabric stars have been added to the top, and a greeting sticker added to finish.

As the top tree is mounted on foam tape to raise it above the other tree and the surface of the card, you'll need to add a little foam tape under the left hand side of the sticker too, so that it will stick flat.

You could obviously use decorative paper as an alternative under the aperture, and add decorations to the tree at the front etc.

Friday, 21 October 2016

BUTTON CHRISTMAS TREE

A FUN BUTTON CHRISTMAS TREE CARD
Here's a cute idea from Sharon's Buttons demo from a month or two back.

Raid your button jar - the colours and styles don't have to match, take a square card from Regal Craft Cards, arrange a group of buttons in a tree shape and glue them down (or use strong sticky dots or double sided tape), add a cut-out container for the base and you're just about done!  Stickers and trim are optional.

This can either be a really speedy enterprise if you just stick it all together, or take forever if you're the type of person who spends hours agonizing over the order in which to put the buttons.  Either way its a fun card!

Wednesday, 19 October 2016

PRETTY PICKPOINT CARDS

Some bonus cards this week - more lovely pickpoint examples of Sandra Bell's work - this time with beads as well as colourful metallic stitching.

These cards are perfect for very special friends at Christmas but could be given for a number of occasions, or even made and framed for yourself!

Regal has a choice of two Beading and Stitching books by Rikki Showell, if you'd like to try this technique!

Friday, 14 October 2016

CHRISTMAS ZIGZAGCARD

CHRISTMAS ZIGZAG
Regal has a choice of four colours of zigzag card available as pre-made bases, so, as with a lot of the other cards on this blog, you can go straight to the fun bit of decorating them!

Janet has used a variety of decorative papers, some glitter card, and twine to decorate this example.  It is relatively easy to make this card either more or less complicated, depending on the technique you chose to use, and don't forget that if you add a little doublesided tape tot he side and bottom of the front panel, you have an instant "pocket" for tags or small gifts.

Friday, 7 October 2016

CHRISTMAS SWING CARD

OPEN CARD

If you are beginning to make your Christmas cards now, you still have the time to devote to a few extra special projects.  Marilyn has used patterned paper from Kaiser, and a variety of embellishments to decorate one of Regal's swing cards for the occasion.

The card bases are great because every swing panel is perfectly cut (hard to achieve with a craft knife, so you can go straight onto the fun bit of decorating.  The cards are available in white, red and Kraft brown so you should be able to match just about any style.

Embellishments used in this example include green star split pins and rhinestones, a red paperclip, die-cut tag and Christmas tree, red paper flowers and a peel-off greeting sticker.  Its really just a matter of selecting a variety of decoration to suit the occasion.  Inked edges neaten the finish.

I'd suggest this is a great project for the card-keepers amongst your friends
CLOSED CARD

Friday, 30 September 2016

THREE CARDS FEATURING BUTTONS

Here are three more of Sharon's fun button cards.  Who wouldn't smile if they received one of these?

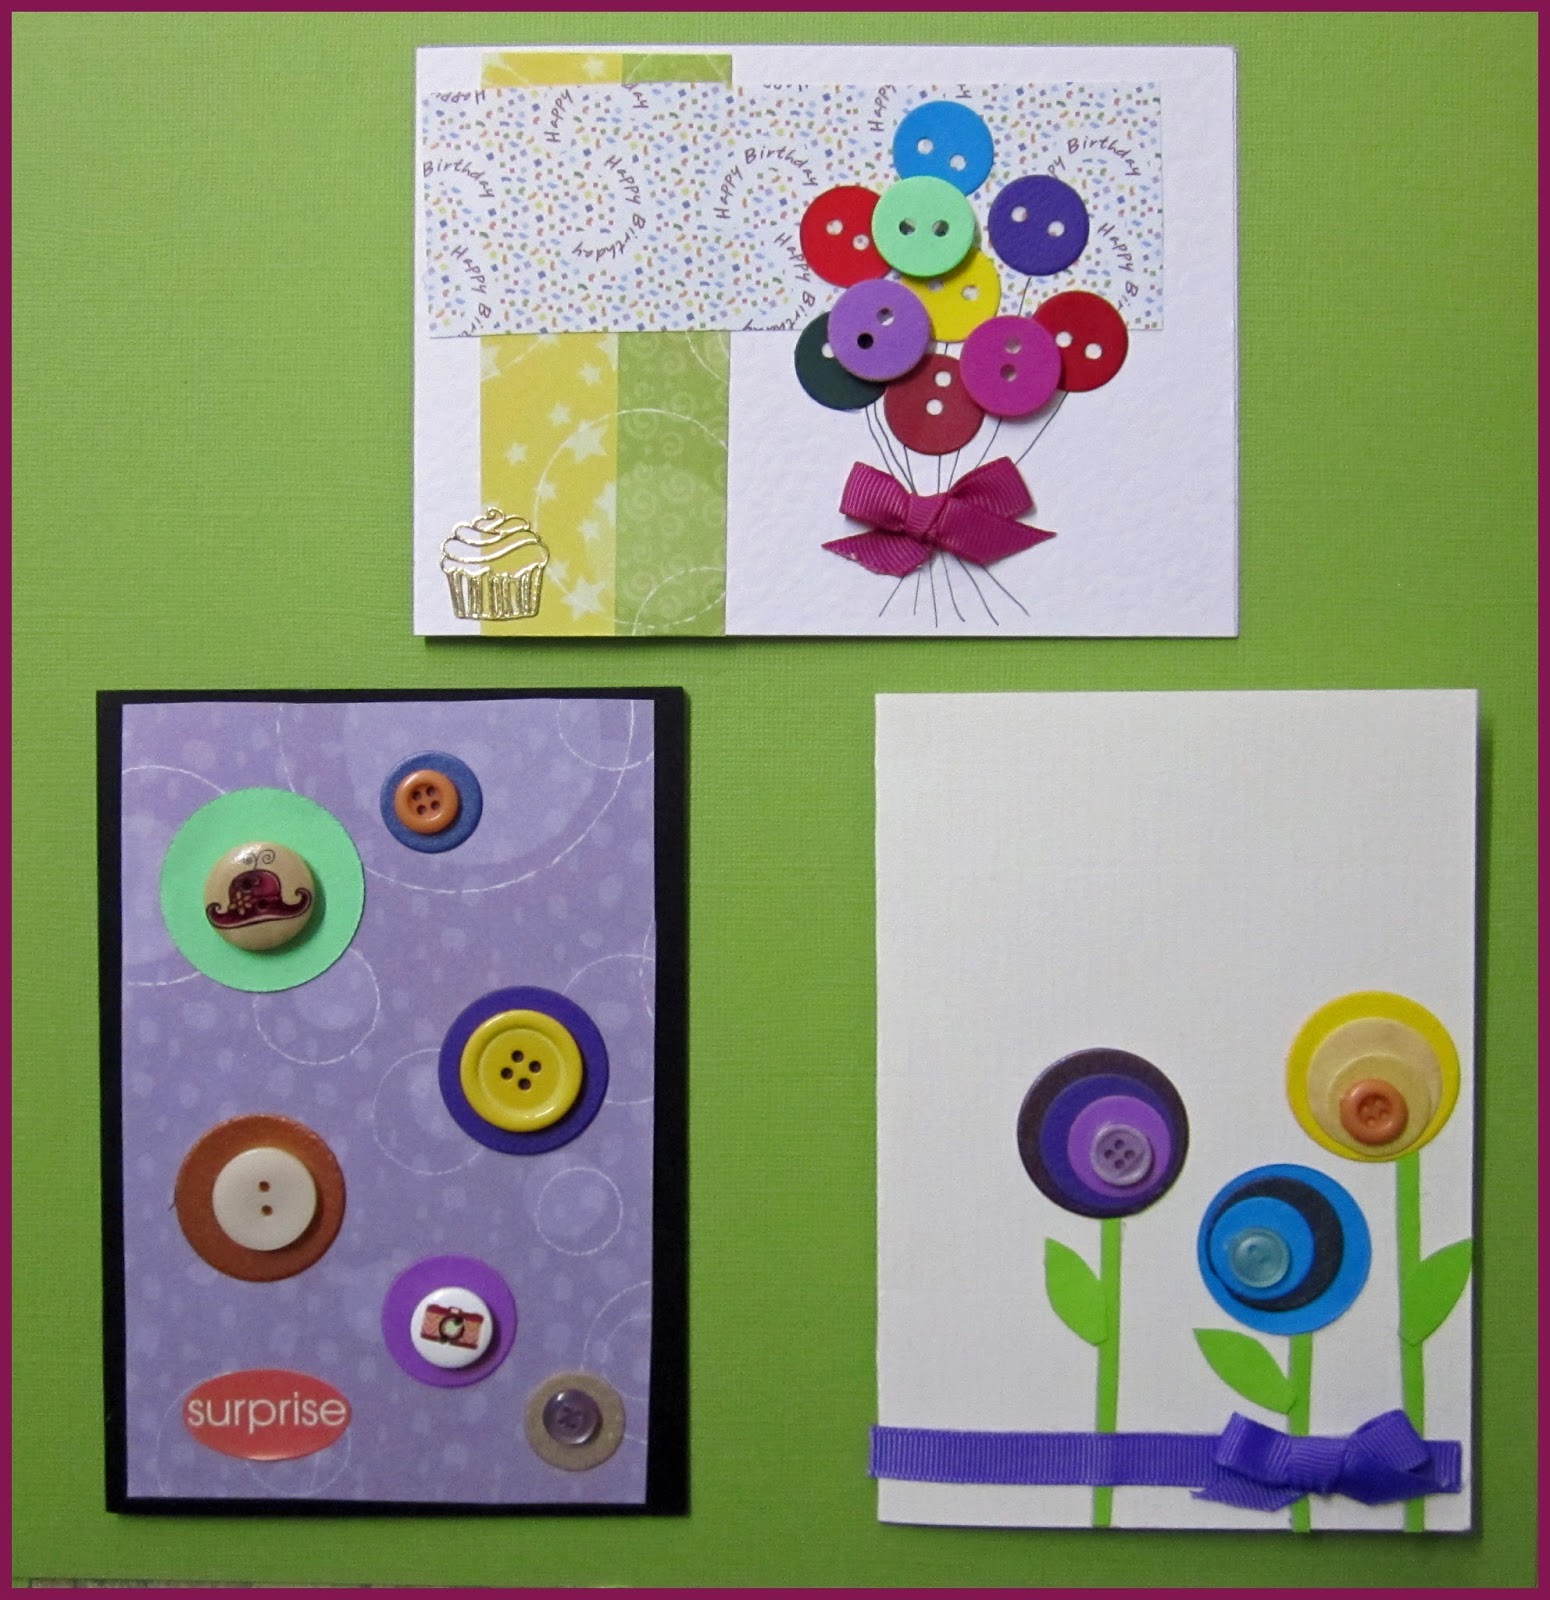
All you need are some spare buttons, patterned and plain papers, a circle punch and a little bit of ribbon and off you go.  Notice that the top cards has been made with paper buttons.  If, in the unlikely event you don't have a big jar of neglected buttons at home, you can always make some using light card and a die or a couple of circle punches.

The base cards come from Regal Craft Cards.

Friday, 23 September 2016

LOG CABIN QUILT CARD

"Log Cabin" Quilt Card
I'm all for using up scraps of paper and this is a nice easy way to do it.

Start with one of Regal's aperture cards (XSQ3).  This one has a nice little space at the bottom just right for a greeting so I'v put a black strip across, which leaves a square to fill.  So, working with folded strips I've just worked my way around the outside edge, taping the ends to the back of the card, and gradually working my way to the middle.  I've finished off with a little heart sticker.

I've sort of broken the rules with the design - usually the middle of this style of Iris folding is either shiny or red and hearts are usually the latter but I've chosen black and white to match my greeting.  The last row of the left of the heart "should" be green but I've made it red to frame the heart.  In short - when you make a card - do what pleases you!

Friday, 16 September 2016

CHILDREN'S CARDS WITH BUTTONS

Fun Birthday Cards with Buttons
Here are two cute cards that Sharon made at her recent "Buttons" demo for Regal Craft Cards.  No dies required - she has cut all the pieces by "eye".

Die-cutting machines are great but back in the day we all used scissors so don't forget that is still a very viable option!

Basically, the ingredients for these cards are singlefold cards from Regal, patterned and plain papers and some alphabet and peel off stickers.  Find the way you like best to stick them all together and you're good to go!

Friday, 9 September 2016

ROMANTIC CALENDAR AND GEOMETRIC STITCHED CARDS

ROMANTIC CALENDAR CARD
Not one, not two but four cards today!  Three of them, of course are more of Sandra Bell's beautiful stitched designs - with a geometric theme this time.  Sandra's use of colour is, as usual, quite striking, and she has used square cards from Regal Craft Cards as a base.  These designs could clearly be adapted for most occasions,

The "other" card this week is also from Regal (XSTE1 - Centre Stepper), as is the little calendar (which as you can see, is for next year).  The card has been decorated with patterned paper and little grey Couture Creations pearls, a topper from Darkroom Direct and some handmade paper flowers with die-cut flourishes to finish.  This would be great for an anniversary, or just to sit on your own desk at home!

GEOMETRIC PICKPOINT

Friday, 2 September 2016

QUILT CARD USING CIRCLES

FAUX CATHEDRAL QUILTING
This is another of the cards I made for the "Quilt Cards" demo a few months back.  It is so much easier to make than it looks.

I punched nine two inch circles from paper that was green on one side and white on the other, and simply folded the edges in so that the circle became a square.  When you put them next to each other you end up with the penal design!

After sticking them down onto white card, I trimmed it down to leave a white border.  Instead of just mounting this on a green backing, I cut strips of green and mitred the corners to look a bit more quilt-like, and added double "stitching" using a Kaiser die.

The base card is a black square single fold (SPL6) from Regal Craft Cards.  Because of the colours, this would do just as well for men and women, and as its a simple design, for all occasions too!  If you feel especially keen you can stick different coloured squares in the middle of the circles before you fold the edges!

Friday, 26 August 2016

TWO FLORAL CARDS

PICKPOINT FLORAL CIRCLE

There are two very different cards on show today.  Both have a floral theme, and both would be suitable for a wide variety of occasions  I have to also somewhat apologise to both the ladies who made these for the rather dodgy photos,a s I'm very aware that I have done neither of them justice.

Marilyn has used a Sparklelight sticker as the centrepiece for her card.  She had placed a ribbon behind it which she's gathered together and secured at the front before adding a decorative silver flower.  Note how the ribbon is also stuck down behind the edges of the handmade embossed paper topper, which is in turn backed on red card which is echoed in the colour of the ribbon on the card and that pictured in the sticker.  The base card is called "Garden Green" and comes from Regal Craft Cards.

The top card is another lovely example of Sandra Bell's pickpoint work.  The base is a square card from Regal, edged with a gold border sticker. Note the effective  choice of green for the leaves and a variegated metallic thread for the flowers.  This would be a beautiful card for a wedding, engagement or special birthday.  There is space in the middle to add a greeting if desired.

Friday, 19 August 2016

CRAZY QUILT CARD

PAPER QUILT CARD
Those of us who don't like to throw things away are always looking for ideas to use up all those little scraps of special paper that are inevitably left over, especially when (as probably isn't evident in the picture) they are of the more expensive kind!

This is a really easy idea - just assemble them to fit into a frame (this is a 3 panel card from Regal Craft Cards), cover the joins and stick bits on to decorate.  In the space of a small aperture, I've managed to fit adhesive cloth trim, two types of pearls, a gold charm, an embossed die-cut flower, gold thread, a butotn, ric-rac, ribbon, gold thread and a couple of dots with a gold pen to finish.  In other words, its a good way to use up little bits and pieces too!

I say that its an easy idea, not that its quick.  It can be, (5 minutes tops actually stick it down) but if you're like me and enjoy spending a bit of time fiddling around with the arrangement, it can take all morning!  I've stuck to neutral tones because I did this at one of Regal's demos and didn't want to force the folks who came watch me agonize over  colours for hours.  I really should make more of these - I'd much rather play with a big tray of paper crafting leftovers in front of the telly in the evening,than watch most of what's on it at the moment!

Friday, 12 August 2016

BARGELLO CARD

BARGELLO ANNIVERSARY CARD
This is a good way to add up all those little scraps of papers that are just too pretty to throw away.

Either use a piece of Jac paper or glue strips next to each other until you have the size you want.  Its important to make sure they are secured all over and not just at the ends or edges.

Turn your new piece of stripy paper 90 degrees and cut it into strips - you can make them all the same size or vary the width as I've done here.  Lastly reassemble them but move each strip up or down before you stick it - have a play until you find a pattern you like.

I've put this onto a plain white single fold Regal Craft card and added a die-cut greeting, using some Kaiser dies.  As the first anniversary is the "Paper" one, a card like this seems appropriate.

FRIDAY UPDATE

Well, I'm back at work after two really productive weeks off and wow, you should see how many new things are in the shop!  I tried not to look too hard when I popped in last week but now its unavoidable, and I've already been tempted by a big pile of dies - there are quite a few new ones but my favourites are the Ultimate Crafts stained glass collection.  I can't wait to find some time to play with them!

The first of the Christmas things are starting to arrive and from now on should be doing so fairly regularly.  Don't leave it too late to collect your materials together if you are planning to give hand made Christmas cards -you can always put the bits together closer to the day but papers and embellishments are coming and going so early that September/October will probably be the peak time to source the things you need.

Speaking of which, if you need some inspiration, Marty Munro will be doing a free demo for Regal Craft Cards on Wednesday 14th September between 10 and 3 (just come and go as you wish in these times) so mark it on your calendar now!

Friday, 5 August 2016

PURPLE FAN CARD

PURPLE FAN CARD
This isn't quite a 5-minute wonder. but it's close.  Regal sell the purple fan cut-out cards ready to decorate, so all I did was add some decorative (Fab Scraps) paper underneath the aperture, then a couple of slices of the fan cut-out (which comes with the card), which I had embossed.
A few pieces of 3mm ribbon covered my messy edges and a satin flower disguised the fact I can't tie a bow to save myself!

This is a good beginner's card, suitable for lots of different occasions E.g. make a white one for a wedding, or add red, grren and gold papers and embellishments to an ivory card for Christmas

Friday, 29 July 2016

KITE FOLD FLOWER

Here's a cute idea.  I've just recycled some magazine pages (quilting ones especially are great as a source of small papers) and cut some little squares, I've folded the edges to the centre to make a kite shape and then just stuck them down.  An embossed circle hides any messy middle (not that his one HAS a messy middle).  THe leaves are just the same sized squares with both ends folded in, a strip of orange paper makes the stem and the greeting is made with a Kaiser die.  The whole thing is mounted on a textured white DL singlefold card (DL1) from Regal Craft Cards.

This is a fun economical card, which would be great to give to children, or fun to make with them.

Friday, 22 July 2016

TWO TEAPOTS

TEAPOT CUT OUT CARDS
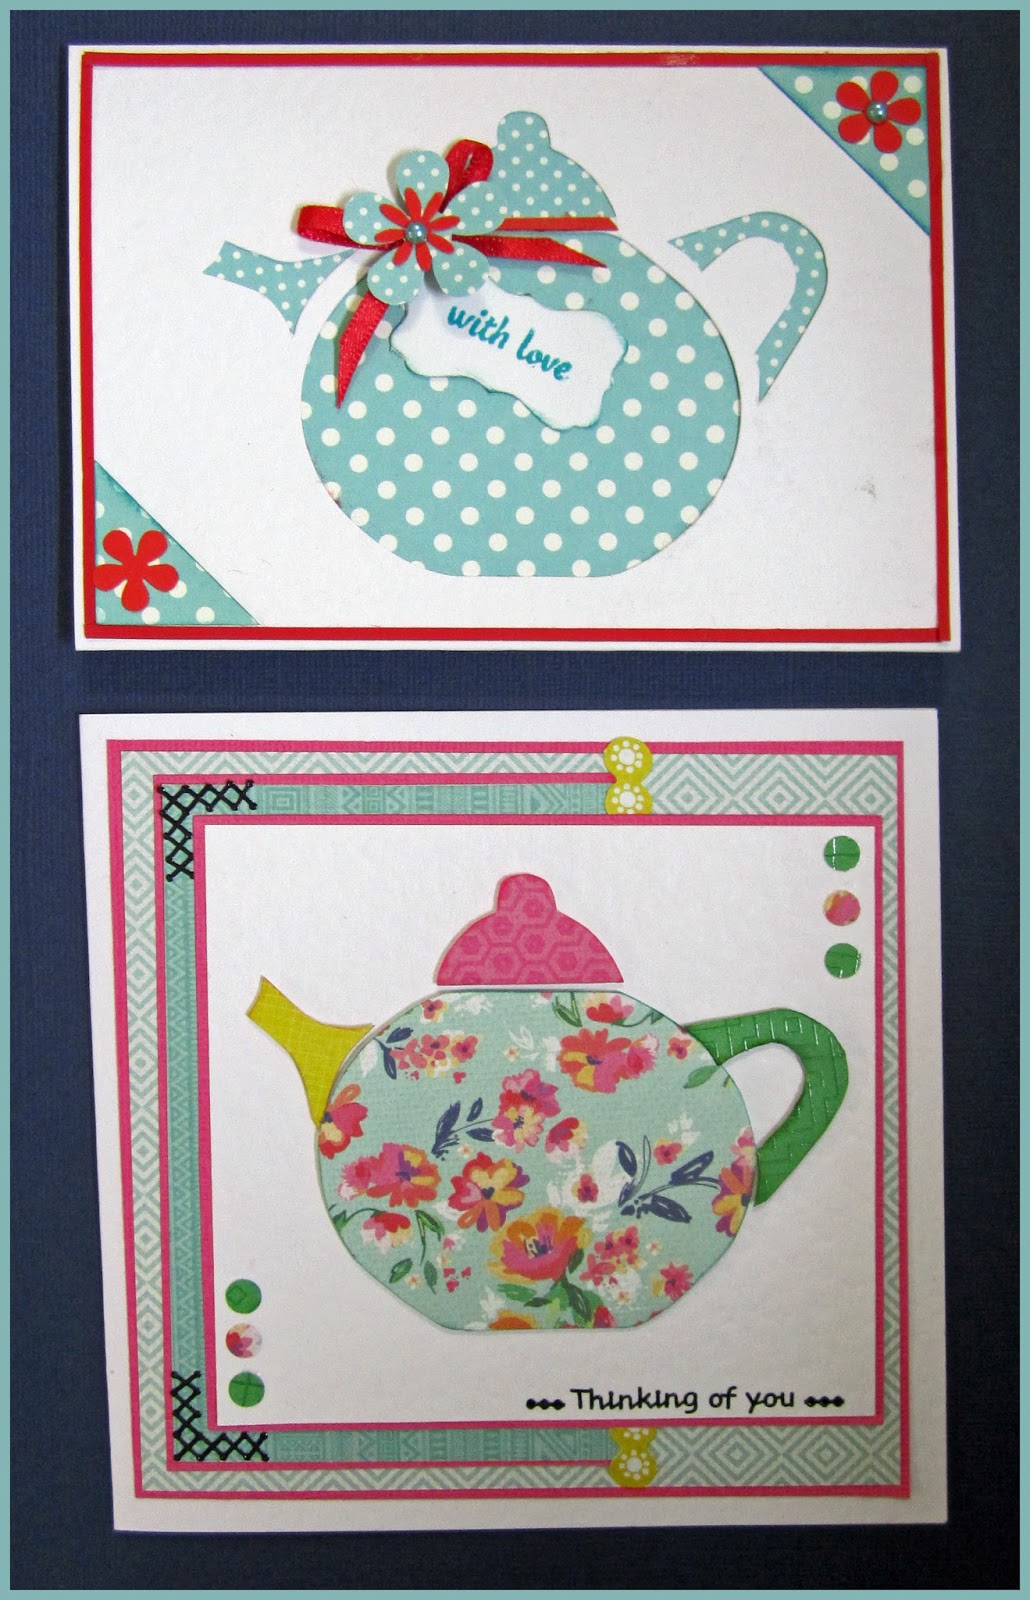
Tania has provided us with a couple of great ideas of how to decorate Regal Craft Card's teapot cut-out card (XNO55).

These cards would make a great accompaniment for a gift of special tea or a teapot or cup, and are perfect for morning or afternoon tea invitations.

All you  need are some pretty papers or fabrics and  few embellishments and off you go!

Friday, 15 July 2016

PARCHMENT and PICKPOINT

SIMPLE PARCHMENT CARD
Parchment craft is often portrayed as really complicated and as something that can only be done with a huge selection of tools.  It certainly can be that way, and Regal Craft Cards do stock a great range of tools for the advanced crafter.

It doesn't have to be that way, however, and this example shows what is possible for the first time crafter, requiring only a piece of parchment paper, a white pen, an embossing stylus and a soft rubber mat.  The pattern comes from Embossing Paper the Easy Way (available from Regal).  Just trace the picture with a white pen, when the ink is dry turn it over, retrace and add detail with the embossing stylus.  Add an insert and you're done.  

Balance out the weight of the outer card and insert so that it will stand up e.g. thin parchment with thick insert etc.  There are many ways to attach the insert to the outer card.  A little double sided tape on the inner back panel will do the trick, but for this example I've chosen to tie it together with some 3mm satin ribbon.

As a bonus this week, we have some more of Sandra Bell's lovely pickpoint cards, made with a variety of coloured metallic threads which give the design a special lift.  The last three designs are from the Garden Flowers design sheet (PPF11)
FOUR PICKPOINT CARDS

Friday, 1 July 2016

OWL CARDS

SIDE-STEPPER OWL CARD
How cute are these owl cards that Marilyn has put together.

The owls are from a Kaiser paper called "HOOT" from the "Hello Sunshine" collection that came out some time ago.  They have a glossy finish, and have been fussy cut from a 12 x 12 page.

The first card base is a side stepper from Regal Craft Cards (ST1).  In addition to the owls, Marilyn has added skeleton and paper leaves, green paper roses and handmade papers.

The second example uses a soft cream Regal deckle oval card-base (OVD3). Marilyn has added some little red paper flowers, with silver-grey pearls have been added to the centre.  Small silver rhinestones make the owl's eyes sparkle,